Cooking Time Calculator
Calculate cooking times for kitchen tools • 2026 edition
Cooking Time Formula:
Show the calculator\( \text{Cooking Time} = \text{Base Time} \times \text{Weight Factor} \times \text{Temperature Factor} \times \text{Method Factor} \)
Where:
- \( \text{Base Time} \) = Standard cooking time for reference weight
- \( \text{Weight Factor} \) = Time adjustment based on weight (typically 1.5 for each doubling)
- \( \text{Temperature Factor} \) = Time adjustment based on cooking temperature
- \( \text{Method Factor} \) = Adjustment for cooking method (oven, stovetop, etc.)
- \( \text{Cooking Time} \) = Total estimated cooking time
This formula calculates cooking time based on various factors that affect cooking duration.
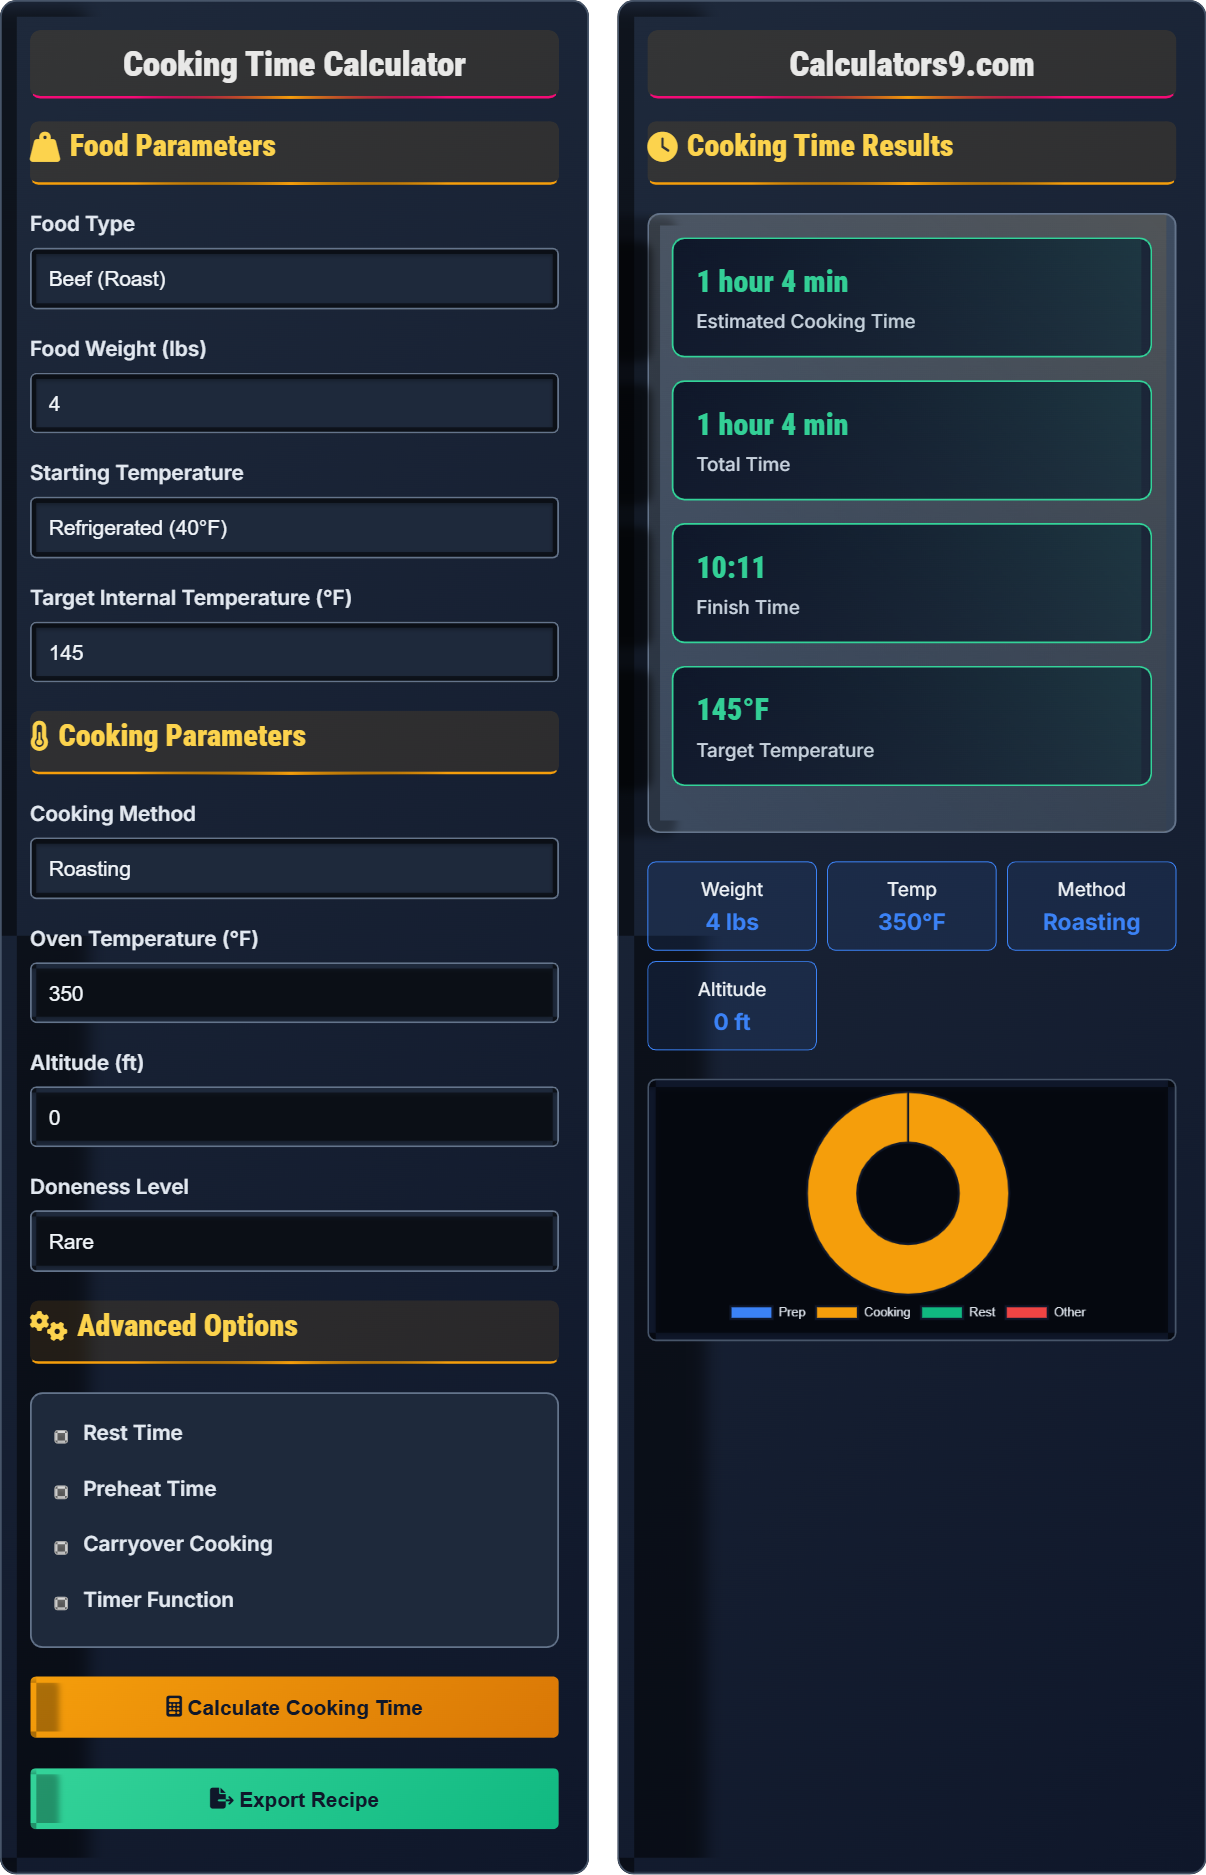
Example: For a 4 lb roast with base time of 20 min/lb at 350°F, cooking at 325°F:
Time: \( 80 \times 1.0 \times 1.1 \times 1.0 = 88 \) minutes
Thus, approximately 1 hour 28 minutes would be needed.
Food Parameters
Cooking Parameters
Advanced Options
Cooking Time Results
- Beef: 135°F (rare) to 160°F (well done)
- Pork: 145°F (medium rare)
- Chicken: 165°F (safe minimum)
- Fish: 145°F (flakes easily)
- Use meat thermometer for accuracy
- Reach proper internal temperatures
- Don't rely solely on color
- Rest meat to retain juices
- Refrigerate leftovers promptly
- 3,000 ft: Add 5% to cooking time
- 5,000 ft: Add 10% to cooking time
- 7,000 ft: Add 15% to cooking time
- Boiling point decreases at altitude
- Check temperature 15-20 min before estimated finish
- Insert thermometer in thickest part
- Let meat rest to reach final temperature
- Use instant-read thermometer
Cooking Time Guide
Cooking time depends on weight, temperature, method, and doneness. Weight has the most significant impact, with time increasing exponentially as size increases.
Base time × Weight factor × Temperature adjustment × Method factor. Weight factor: approximately 1.5 for each doubling. Temperature inverse: lower temp = longer time.
- Use meat thermometer
- Account for carryover cooking
- Rest meat after cooking
- Adjust for altitude
Cooking Methods
Different methods affect cooking time: Roasting/Baking: 20-30 min/lb. Grilling/Broiling: 15-25 min/lb. Boiling: 10-20 min/lb. Pressure cooking: 30-50% reduction.
- Convection: 25% faster
- Slow cooker: 4-8 hours
- Pressure cooker: 30-50% time
- Grill: 15-25 min/lb
- Equipment calibration
- Food starting temperature
- Altitude effects
- Food safety standards
Cooking Time Quiz
How does doubling the weight of a roast affect cooking time?
The answer is B) Increases time by 1.5 times. When you double the weight of a roast, the cooking time increases by approximately 1.5 times, not double. This is because heat penetration follows a square root relationship with mass.
Heat transfer in cooking follows the physics of thermal diffusion. As food size increases, the surface area-to-volume ratio decreases, meaning it takes longer for heat to reach the center. The relationship is not linear but follows a square root pattern, which is why doubling weight doesn't double cooking time.
Thermal Diffusion: How heat travels through food
Surface Area-to-Volume: Ratio of exposed surface to mass
Heat Penetration: How heat reaches center of food
• Doubling weight → 1.5x time
• Heat transfer is not linear
• Center temperature is key
• Use meat thermometer
• Check early and often
• Don't rely on time alone
• Assuming linear relationship
• Not accounting for size
• Relying on cooking time alone
If a recipe calls for roasting at 350°F for 1 hour, how long would it take to cook the same item at 325°F? Show your work.
Step 1: Understand the temperature relationship
Cooking time is inversely related to temperature. Lower temperature requires longer time.
Step 2: Calculate the temperature ratio
Temperature adjustment factor = 350°F ÷ 325°F = 1.077
Step 3: Apply the adjustment
Adjusted time = Original time × Temperature factor
Adjusted time = 60 minutes × 1.077 = 64.6 minutes
Step 4: Round to practical time
Approximately 65 minutes or 1 hour and 5 minutes
Step 5: Additional considerations
At lower temperatures, the exterior may not develop the same crust, and moisture retention may be better. Also consider that ovens may not be perfectly calibrated.
Therefore, cooking at 325°F would take approximately 1 hour and 5 minutes.
This calculation demonstrates the inverse relationship between temperature and time. When cooking at lower temperatures, the rate of heat transfer decreases, requiring longer cooking times. However, the relationship isn't perfectly linear due to complex heat transfer dynamics.
Inverse Relationship: As one factor increases, the other decreases
Heat Transfer Rate: Speed at which heat moves through food
Temperature Gradient: Difference in temperature
• Lower temp = longer time
• Time adjustment is multiplicative
• Consider other effects of temp change
• 25°F difference ≈ 10-15% time adjustment
• Lower temps often yield better texture
• Use thermometer to verify doneness
• Assuming time is unchanged with temp
• Not accounting for heat transfer physics
• Forgetting about other cooking effects
Sarah lives at 5,000 feet elevation and wants to roast a 3 lb chicken at 375°F. At sea level, a 3 lb chicken takes 1 hour 15 minutes at 375°F. Calculate the adjusted cooking time for her altitude, considering that cooking time increases by 10% at 5,000 feet.
Step 1: Identify the base cooking time
Sea level time = 1 hour 15 minutes = 75 minutes
Step 2: Calculate the altitude adjustment
Altitude factor = 10% increase = 1.10
Adjusted time = 75 minutes × 1.10 = 82.5 minutes
Step 3: Convert to practical time
82.5 minutes = 1 hour 22.5 minutes ≈ 1 hour 23 minutes
Step 4: Consider additional factors
At altitude, boiling point is lower (about 203°F at 5,000 ft vs. 212°F at sea level), which affects moist cooking methods more than dry methods. For roasting, the effect is primarily on cooking time.
Step 5: Safety verification
Always verify doneness with a meat thermometer: chicken should reach 165°F internally.
Therefore, Sarah should roast her 3 lb chicken for approximately 1 hour and 23 minutes at 5,000 feet elevation.
This problem demonstrates how altitude affects cooking times. At higher elevations, atmospheric pressure is lower, which lowers the boiling point of water. This affects cooking processes, especially those involving moisture. Dry cooking methods like roasting are affected less than moist methods like boiling.
Atmospheric Pressure: Air pressure at given altitude
Boiling Point Depression: Lower boiling point at altitude
Moist Cooking: Methods using liquid or steamDry Cooking: Methods using hot air or direct heat
• 3,000 ft: +5% time
• 5,000 ft: +10% time
• 7,000 ft: +15% time
• Adjust for altitude in timing
• Moist methods affected more
• Always verify with thermometer
• Not accounting for altitude
• Using sea-level times at altitude
• Forgetting about boiling point changes
Mike is roasting a 5 lb beef tenderloin at 425°F. The target internal temperature is 135°F (medium rare). He calculates that the meat will reach 130°F at 45 minutes. Explain carryover cooking and estimate when he should remove the meat from the oven, considering that large cuts continue cooking after removal.
Step 1: Understand carryover cooking
Carryover cooking occurs because the exterior of the meat is hotter than the center. After removal from heat, residual heat continues to move inward, raising the internal temperature.
Step 2: Estimate carryover temperature increase
For large cuts (5+ lbs), carryover is typically 5-10°F
For medium-rare target (135°F), remove at 125-130°F
Step 3: Calculate removal time
Meat reaches 130°F at 45 minutes
With 5°F carryover, final temperature will be 135°F
Remove at 45 minutes (when internal temp reaches 130°F)
Step 4: Resting period
Allow 10-15 minutes resting time for juices to redistribute
Step 5: Additional considerations
Insulate with foil to enhance carryover, or remove slightly earlier if using a convection oven which may reduce carryover.
Therefore, Mike should remove the beef tenderloin at 45 minutes when the internal temperature reaches 130°F, allowing the carryover cooking to bring it to the target 135°F.
Carryover cooking is a critical concept in meat preparation. The thermal mass of the meat retains heat after removal from the cooking source. The temperature gradient between the hot exterior and cooler center continues to equalize, raising the internal temperature even after cooking stops.
Carryover Cooking: Continued cooking after heat removal
Thermal Mass: Heat retention capacity of food
Temperature Gradient: Heat differential within food
• Remove 5-10°F before target temp
• Larger cuts have more carryover
• Resting redistributes juices
• Remove at 125-130°F for 135°F target
• Rest for 10-15 minutes
• Tent with foil to retain heat
• Not accounting for carryover
• Overcooking due to timing error
• Forgetting to rest meat
How does starting with frozen meat instead of refrigerated meat affect cooking time?
The answer is C) About 50% longer. Starting with frozen meat requires additional time to thaw before the cooking process begins. The frozen state acts as an insulator, slowing heat penetration. The additional time is roughly equivalent to the thawing time plus the original cooking time.
When cooking frozen food, the thermal energy must first overcome the latent heat of fusion to thaw the ice crystals before the temperature can rise to cooking levels. This adds a significant time component to the cooking process. For best results, thaw food in the refrigerator before cooking.
Latent Heat of Fusion: Energy required to change ice to water
Thermal Conductivity: How well material conducts heat
Heat Capacity: Energy needed to raise temperature
• Frozen food takes 50% longer
• Thawing requires significant energy
• Ice is insulating
• Plan ahead for thawing
• Never thaw at room temperature
• Refrigerator thawing is safest
• Not accounting for frozen start
• Thawing at unsafe temperatures
• Expecting same cooking time
FAQ
Q: Why does cooking time not double when I double the recipe?
A: Cooking time relates to the thickness/size of the food, not the quantity:
- Thickness: Heat must travel to center
- Surface area: More surface area cooks faster
- Heat circulation: Multiple items may block airflow
- Thermal mass: Large items take longer to heat through
Only increase time if the food is arranged in a thicker layer.
Q: How do I know when my food is done cooking?
A: Use multiple indicators for doneness:
- Meat thermometer: Most accurate method
- Visual cues: Color, texture changes
- Physical tests: Firmness, tenderness
- Time guidelines: Secondary to thermometers
Always verify with a thermometer for safety.