Scrapbooking Layout Calculator
Design your perfect pages • Creative planning tool
Scrapbook Layout Formulas:
Show CalculatorArea calculations for layouts:
- Total Page Area = Length × Width
- Photo Area = Σ(Individual Photo Areas)
- Available Space = Total Area - Used Area
- Margin Percentage = (Margins / Total Area) × 100
For photo arrangements, consider the golden ratio (1.618:1) for aesthetically pleasing layouts. Standard scrapbook page sizes are 12×12 inches, 8.5×11 inches, or A4 (21×29.7 cm).
Example: For a 12×12 inch page with 0.5-inch margins:
Usable area = (12-1) × (12-1) = 11 × 11 = 121 square inches
If you place 4 photos each 3×4 inches:
Total photo area = 4 × (3×4) = 48 square inches
Remaining space = 121 - 48 = 73 square inches for decorations and text.
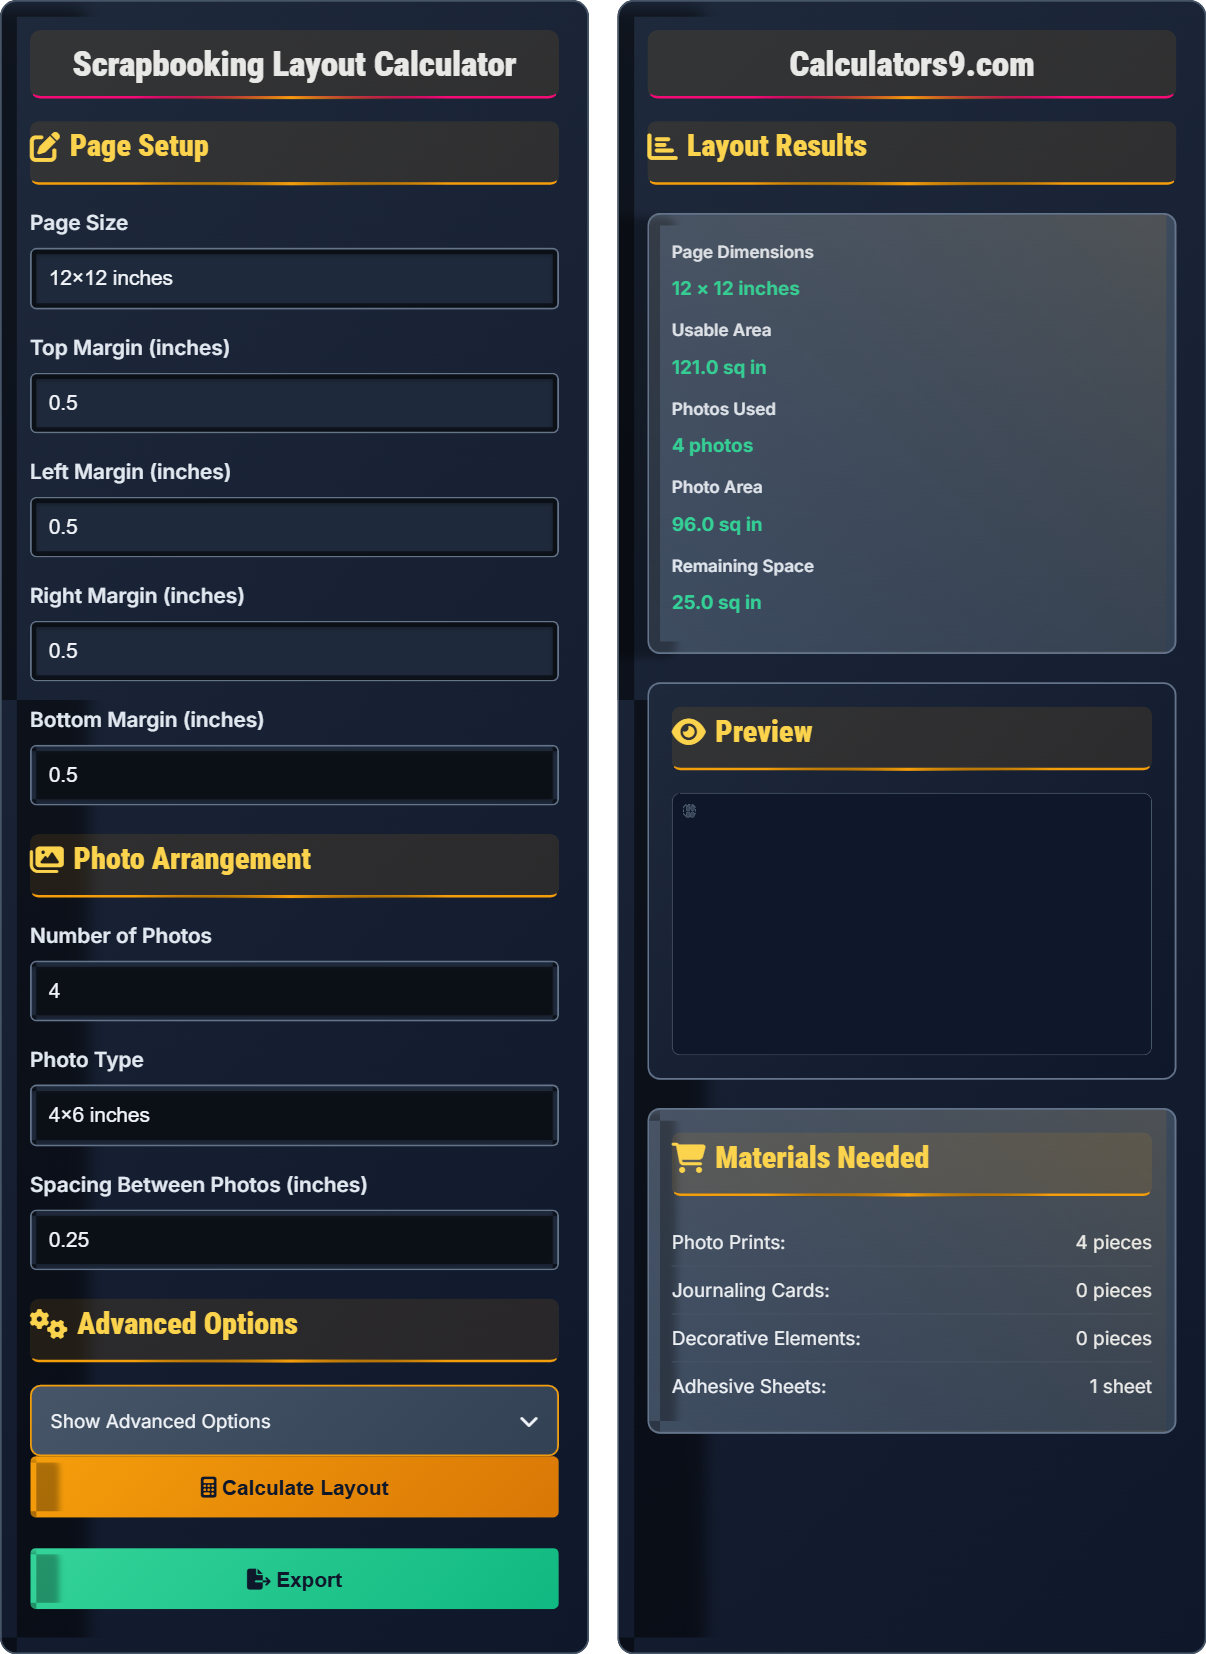
Page Setup
Photo Arrangement
Advanced Options
Layout Results
Preview
Materials Needed
Scrapbooking Fundamentals
Scrapbooking is a hobby and craft involving the creation of albums or pages to preserve memories, photographs, and memorabilia. It combines photography, paper crafting, journaling, and decorative elements to tell stories and commemorate special moments.
Effective scrapbook layouts balance photos, journaling, and decorative elements. The rule of thirds and golden ratio help create visually appealing arrangements. Consider the focal point of each page and ensure adequate white space.
- Maintain consistent margins (typically 0.25-0.5 inches)
- Leave breathing room around photos (0.25-0.5 inches)
- Balance visual weight across the page
- Consider color harmony and contrast
Layout Techniques
Common scrapbook layouts include single photo focus, multiple photo grids, timeline layouts, and cluster arrangements. Each style serves different storytelling purposes and accommodates varying numbers of photos.
- Choose a theme and color scheme
- Select photos that tell your story
- Plan the layout on paper first
- Arrange photos with appropriate spacing
- Add journaling and decorative elements
- Use acid-free materials for preservation
- Limit photos to 4-6 per page for focus
- Include meaningful journaling
- Keep decorations subtle
Scrapbooking Layout Quiz
What is the recommended minimum spacing between photos on a scrapbook page?
The answer is B) 0.25 inches. The recommended minimum spacing between photos on a scrapbook page is 0.25 inches. This provides enough visual separation while maintaining a cohesive layout. Spacing less than 0.25 inches can make the page look cluttered, while spacing greater than 0.5 inches may create too much empty space.
Proper spacing is crucial in scrapbooking because it affects the visual flow and readability of the page. The 0.25-inch spacing guideline ensures that photos don't appear cramped while still maintaining unity in the design. This spacing also allows for adhesive application and accommodates slight variations in photo placement during assembly.
Visual Flow: The path a viewer's eye takes when looking at a layout
White Space: Empty areas in a design that provide breathing room
Unity: The sense of harmony between elements in a design
• Minimum spacing of 0.25 inches between photos
• Maintain consistent margins around the page edges
• Balance spacing with the overall page composition
• Use a ruler to measure spacing during planning
• Create a test layout on scratch paper first
• Consider using spacing tools or templates
• Placing photos too close together (cluttered appearance)
• Having inconsistent spacing throughout the page
• Ignoring spacing when adding decorative elements
Calculate the usable area of a 12×12 inch scrapbook page with 0.5-inch margins on all sides. Then determine how much area remains if you place 3 photos each measuring 4×6 inches.
Step 1: Calculate usable page area
With 0.5-inch margins on all sides:
Usable width = 12 - (0.5 + 0.5) = 11 inches
Usable height = 12 - (0.5 + 0.5) = 11 inches
Usable area = 11 × 11 = 121 square inches
Step 2: Calculate total photo area
Each photo = 4 × 6 = 24 square inches
Total photo area = 3 × 24 = 72 square inches
Step 3: Calculate remaining space
Remaining space = 121 - 72 = 49 square inches
Therefore, the usable area is 121 square inches, photos occupy 72 square inches, leaving 49 square inches for journaling and decorations.
This calculation demonstrates the importance of accounting for margins when planning scrapbook layouts. Margins serve multiple purposes: they protect the photos from being cut off if the album is trimmed during binding, provide visual breathing space, and create a finished appearance. The remaining space calculation helps determine how much room is available for journaling and decorative elements.
Usable Area: The portion of the page available for photos and decorations after accounting for margins
Binding Allowance: Extra space near the spine for album binding
Safe Zone: Area away from page edges to prevent content from being cut off
• Always subtract margins from total page dimensions
• Calculate total area before placing individual elements
• Leave adequate space for journaling and decorations
• Sketch layouts on graph paper first
• Use a calculator to verify area calculations
• Plan for 20-30% of space for journaling
• Forgetting to account for margins in area calculations
• Overfilling the page with photos leaving no space for text
• Not considering aspect ratios of different photo sizes
You're creating a 12×12 inch scrapbook page with 0.5-inch margins. You want to arrange 4 photos in a 2×2 grid with 0.25-inch spacing between them. Each photo is 5×7 inches. Is this arrangement feasible? Calculate the required space and explain.
Step 1: Calculate available space
Usable area = (12-1) × (12-1) = 11 × 11 = 121 square inches
Step 2: Calculate space required for 2×2 grid
Horizontal arrangement: 2 photos + 1 spacing
Required width = (2 × 5) + (1 × 0.25) = 10 + 0.25 = 10.25 inches
Vertical arrangement: 2 photos + 1 spacing
Required height = (2 × 7) + (1 × 0.25) = 14 + 0.25 = 14.25 inches
Step 3: Compare with available space
Required dimensions: 10.25 × 14.25 inches
Available dimensions: 11 × 11 inches
Since 14.25 inches > 11 inches, this arrangement is NOT feasible. The vertical dimension exceeds the available space by 3.25 inches.
This problem illustrates the importance of dimensional planning in scrapbooking. When arranging photos in a grid, you must account for both the photo dimensions and the spacing between them. The calculation shows that even though the total area of the photos might fit, their arrangement dimensions must also fit within the available space. This is why it's important to plan layouts before beginning to assemble them.
Grid Layout: Arrangement of photos in rows and columns
Aspect Ratio: Proportional relationship between width and height
Dimensional Planning: Calculating space requirements for layout elements
• Calculate both width and height requirements separately
• Account for spacing between all adjacent elements
• Ensure arrangement fits within available dimensions
• Try horizontal orientation for tall photos in grids
• Consider alternative arrangements if dimensions don't fit
• Use smaller photos or fewer photos if needed
• Only checking total area without considering arrangement dimensions
• Forgetting to include spacing in dimension calculations
• Not accounting for rotation of rectangular photos
For a 12×12 inch scrapbook page with 0.5-inch margins, you're placing 6 photos each 4×6 inches with 0.25-inch spacing. You want to add a 3×4 inch journaling card and decorative elements covering 15 square inches. Calculate the total area used and the percentage of the page filled. How much space remains for additional decorations?
Step 1: Calculate usable page area
Usable area = (12-1) × (12-1) = 11 × 11 = 121 square inches
Step 2: Calculate photo area
Each photo = 4 × 6 = 24 square inches
Total photo area = 6 × 24 = 144 square inches
Wait! This exceeds the usable area (144 > 121), so we need to reconsider the arrangement.
Let's try a more efficient arrangement: 3 photos horizontally × 2 vertically
Required width = (3 × 4) + (2 × 0.25) = 12 + 0.5 = 12.5 inches
This exceeds the 11-inch usable width, so we need to adjust.
Instead, try 2 photos horizontally × 3 vertically
Required width = (2 × 4) + (1 × 0.25) = 8 + 0.25 = 8.25 inches ✓
Required height = (3 × 6) + (2 × 0.25) = 18 + 0.5 = 18.5 inches
This exceeds the 11-inch usable height, so 6 full-size 4×6 photos won't fit.
Let's assume we resize photos to fit: 3 photos at 3×4 inches
Adjusted photo area = 3 × (3 × 4) = 36 square inches
Step 3: Add other elements
Journaling card = 3 × 4 = 12 square inches
Decorative elements = 15 square inches
Step 4: Calculate totals
Total used area = 36 + 12 + 15 = 63 square inches
Percentage filled = (63/121) × 100 = 52.1%
Remaining space = 121 - 63 = 58 square inches
This problem demonstrates the iterative nature of layout planning. Initial assumptions may not be feasible, requiring adjustments to photo sizes or quantities. The solution shows how to recalculate when constraints aren't met, emphasizing the importance of flexibility in design planning. The percentage calculation helps assess whether the page feels balanced with sufficient white space.
Material Estimation: Calculating quantities of supplies needed
Iterative Design: Adjusting plans based on feasibility checks
Visual Balance: Distributing visual weight evenly
• Verify all elements fit within available space
• Plan for 40-60% page coverage for good balance
• Reserve space for journaling and titles
• Use smaller versions of large photos to fit layouts
• Consider cropping photos to different aspect ratios
• Plan for 25-40% white space in layouts
• Not verifying that planned arrangements fit on the page
• Overestimating available space without accounting for spacing
• Forgetting to include all design elements in area calculations
Which of the following is the BEST approach to achieve visual balance in a scrapbook layout?
The answer is B) Distribute visual weight evenly across the page. Visual balance in scrapbooking is achieved by distributing elements so that no single area of the page feels heavier than another. This doesn't mean symmetrical placement, but rather ensuring that large elements, bright colors, and focal points are distributed in a way that creates harmony across the entire layout.
Visual balance in scrapbooking follows principles of graphic design. There are two main types: symmetrical (mirror image on both sides) and asymmetrical (different elements balanced by their visual weight). Asymmetrical balance is often more interesting and dynamic. Visual weight is determined by size, color intensity, complexity, and position on the page.
Visual Weight: The perceived heaviness or lightness of design elements
Symmetrical Balance: Mirror-image arrangement of elements
Asymmetrical Balance: Unequal elements balanced by visual weight
• Balance large elements with smaller ones in opposite areas
• Distribute colors and textures evenly
• Maintain adequate white space for breathing room
• Hold your layout upside down to check balance
• Use a focal point to anchor the design
• Apply the rule of thirds for dynamic compositions
• Clustering all elements in one area
• Creating layouts that feel top-heavy or bottom-heavy
• Ignoring the visual impact of colors and textures
FAQ
Q: How do I determine the best photo arrangement for my scrapbook page?
A: Determining the best photo arrangement involves several considerations:
First, identify your focal photo—the one that tells the main story. Place this in a prominent position, typically following the rule of thirds (at intersection points of imaginary lines dividing the page into thirds).
Next, consider the visual flow. Arrange supporting photos to lead the eye around the page in a logical sequence. For event documentation, arrange chronologically. For emotional impact, group by theme or color.
Calculate your space requirements: If you have a 12×12 inch page with 0.5-inch margins, your usable space is 11×11 inches (121 square inches). Plan your layout so that photos occupy 40-60% of the space, leaving room for journaling and decorations.
Finally, consider the aspect ratios of your photos. Mixing orientations (portrait and landscape) adds visual interest. For example, if arranging 4 photos of 4×6 inches each (total area of 96 square inches), you could arrange them in a 2×2 grid (requiring 8.5×12.5 inches), but this wouldn't fit on an 11-inch wide page. Instead, try a 1×4 horizontal strip or 4×1 vertical stack with appropriate spacing.
Q: What's the ideal margin size for scrapbook pages?
A: The ideal margin size for scrapbook pages is typically 0.25 to 0.5 inches on all sides. Here's why:
Preservation Factor: Margins protect photos from being accidentally cut off if the album pages are trimmed during binding or if stored in a tight-fitting album. A 0.25-inch margin provides basic protection, while 0.5-inch offers more security.
Visual Appeal: Margins create breathing room around the design elements, preventing the page from appearing cramped. They establish a frame for your layout and contribute to a polished, professional appearance.
Practical Considerations: For a 12×12 inch page with 0.5-inch margins, the usable area becomes 11×11 inches (121 square inches). This leaves 23 square inches of margin area out of 144 total square inches, which is about 16% of the page.
Special Cases: For layouts with heavy embellishments or thick materials, consider increasing margins to 0.75 inches. For digital scrapbooking, standard margins of 0.25 inches are sufficient since there's no physical cutting concern.