Image Converter
Professional format converter • Bulk processing
Image Conversion Process:
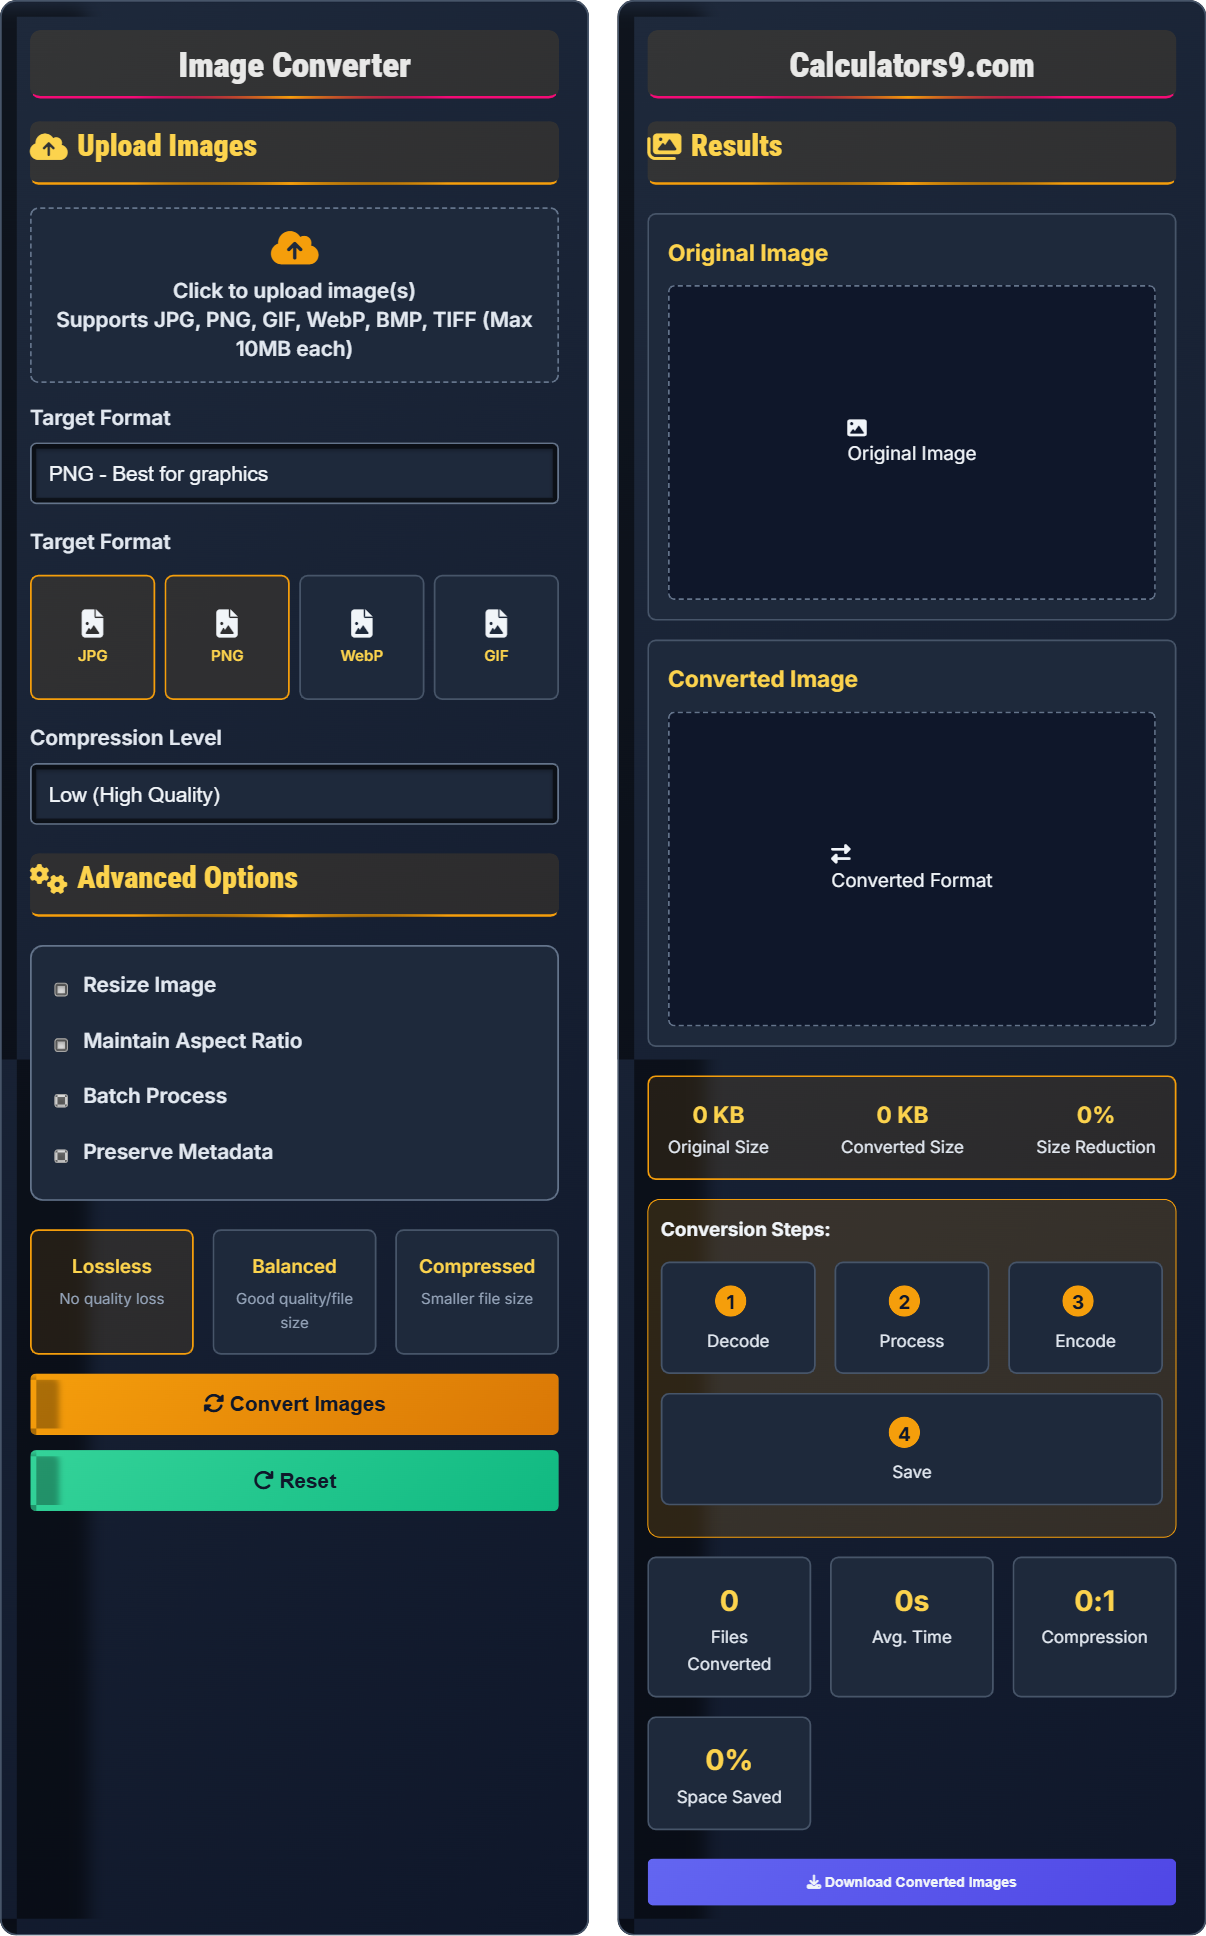
Show the toolImage conversion involves transforming image data from one format to another, potentially changing compression, color space, and metadata. The process includes:
Key steps include:
- Decoding: Reading the original image format
- Processing: Applying transformations and optimizations
- Encoding: Writing to the target format
- Compression: Applying lossy or lossless compression
Conversion Ratios: JPG typically achieves 10:1 compression, PNG is lossless.
Supported Formats: JPG, PNG, GIF, WebP, BMP, TIFF, and more.
Processing Time: Typically 1-3 seconds per standard resolution image.
Upload Images
Advanced Options
Results
Original Image
Converted Image
Comprehensive Image Conversion Guide
Image conversion is the process of transforming image data from one format to another, potentially changing compression, color space, and metadata. This allows images to be optimized for different use cases, platforms, or storage requirements.
Different formats serve various purposes and have distinct characteristics:
- JPG/JPEG: Lossy compression, ideal for photographs
- PNG: Lossless compression, supports transparency
- WebP: Modern format with superior compression
- GIF: Supports animation, limited color palette
Each format has unique characteristics that affect conversion:
- JPG: Lossy compression, no transparency, small file size
- PNG: Lossless compression, supports transparency, larger file size
- WebP: Both lossy and lossless, superior compression, growing support
- GIF: Animation support, limited to 256 colors, transparency support
- From JPG to PNG: Results in larger files but preserves transparency capability
- From PNG to JPG: Loss of transparency, potential quality loss
- From GIF to WebP: Better compression and quality, loss of animation
- From WebP to JPG: Broader compatibility, slight quality loss
- Batch Processing: Convert multiple images efficiently with consistent settings
Conversion Fundamentals
Lossy compression removes some image data to reduce file size, while lossless preserves all data.
Algorithms decode source format and encode to target format with appropriate compression.
- Lossy conversions are irreversible
- Transparency may be lost in certain formats
- Metadata may be stripped during conversion
Optimization Strategies
Compression ratios measure file size reduction achieved by conversion processes.
- Photos: JPG for web, PNG for quality
- Graphics: PNG for transparency
- Web use: WebP for modern browsers
- JPG ideal for photographs
- PNG for graphics with transparency
- WebP for modern web applications
- Consider browser compatibility
Image Conversion Learning Quiz
Which image format is best for photographs that need to be shared online with minimal file size?
The answer is B) JPG. JPG uses lossy compression that significantly reduces file size while maintaining acceptable quality for photographs. PNG is lossless but produces much larger files. BMP and TIFF are uncompressed formats that create very large files unsuitable for online sharing.
Format selection is critical for efficient image sharing. JPG's lossy compression algorithm discards imperceptible image data, achieving compression ratios of 10:1 or more. This makes it ideal for photographs where minor quality loss is acceptable in exchange for significantly smaller file sizes.
Lossy Compression: Compression that permanently removes some image data
Compression Ratio: Ratio of original file size to compressed file size
Perceptual Quality: Quality as perceived by human vision
• JPG provides best compression for photographs
• PNG preserves all image data but creates larger files
• Uncompressed formats are inefficient for web use
• Use JPG for photographs with many colors
• Adjust quality setting based on needs
• Consider WebP for modern browsers
• Using PNG for photographs (unnecessarily large files)
• Using BMP for web images (extremely large files)
• Not considering quality settings when converting
What happens when you convert a JPG image to PNG and then back to JPG repeatedly?
Converting from JPG to PNG preserves the current quality since PNG is lossless. However, converting back to JPG introduces new compression artifacts. Each subsequent JPG conversion causes additional quality loss due to the lossy nature of JPG compression. This is known as "generation loss." The quality degradation becomes increasingly noticeable with each conversion cycle.
This illustrates the fundamental difference between lossy and lossless compression. When converting from a lossy format (JPG) to a lossless format (PNG), the existing compressed data is preserved without further loss. However, converting back to a lossy format applies new compression, causing additional quality degradation. This demonstrates why it's important to keep original high-quality versions.
Generation Loss: Cumulative quality degradation from repeated compression
Compression Artifacts: Visual distortions introduced by compression
Lossless Conversion: Conversion without quality loss
• Keep original high-quality versions
• Edit in lossless formats when possible
• Convert to final format only when publishing
• Maintain master copies in high quality
• Repeatedly converting between lossy formats
• Not keeping original high-quality versions
• Converting edited files multiple times
A web designer needs to optimize 100 product photos for an e-commerce site. The photos are currently in RAW format (24MB each). The designer wants to reduce file sizes while maintaining quality suitable for web display. Calculate the expected file size reduction and recommend the optimal approach considering both quality and loading time.
RAW files are uncompressed and contain maximum sensor data. For web display, converting to JPG with 80-90% quality typically achieves 10:1 to 15:1 compression ratios. Expected file size: 24MB ÷ 10 = 2.4MB average. For web display, further reducing to 800x600px resolution might reduce size to ~200-400KB. WebP format could achieve 25-35% additional size reduction compared to JPG at similar quality. Total expected reduction: 95-98% of original size.
This problem demonstrates the dramatic difference in file sizes between professional formats and web-optimized formats. RAW files contain maximum information for post-processing, but web delivery requires balancing quality with performance. The compression ratio calculation shows the significant storage and bandwidth savings achievable through proper conversion.
Compression Ratio: Original size divided by compressed size
Bandwidth Efficiency: Optimizing file size for transmission
Resolution Reduction: Decreasing pixel dimensions
• RAW to JPG achieves 10:1+ compression
• Use WebP for modern browsers
• Resize images to display dimensions
• Implement progressive loading for large images
• Using RAW files for web display
• Not resizing images to display dimensions
• Ignoring modern formats like WebP
A photographer needs to convert 1,000 images from JPG to PNG for printing preparation. The conversion process takes 3 seconds per image on a standard computer. Calculate the total processing time and propose optimization strategies to reduce the overall time while maintaining quality.
Total processing time = 1,000 images × 3 seconds = 3,000 seconds = 50 minutes. Optimization strategies: (1) Use multi-threading to process multiple images simultaneously; (2) Upgrade hardware (faster CPU/RAM); (3) Use GPU-accelerated conversion tools; (4) Optimize conversion settings for speed; (5) Distribute processing across multiple machines. With 4-thread processing, time reduces to ~12.5 minutes. Cloud-based solutions could provide even greater speedup.
This represents a classic scalability problem in digital asset management. The linear relationship between file count and processing time means that batch operations can become time-consuming. Parallel processing techniques allow for more efficient resource utilization. Understanding computational complexity helps in planning large-scale operations.
Batch Processing: Processing multiple files sequentially
Multi-threading: Executing multiple threads simultaneously
Computational Complexity: Relationship between input size and processing time
• Batch processing time scales linearly with file count
• Parallel processing can significantly reduce time
• Hardware affects processing performance
• Plan large batches during off-peak hours
• Use SSD storage for faster I/O
• Consider cloud processing for large jobs
• Not accounting for processing time in project planning
• Running large batches during peak hours
• Not utilizing available hardware resources efficiently
What happens to EXIF metadata when converting from JPG to PNG?
The answer is B) Lost during conversion. PNG format does not natively support EXIF metadata. When converting from JPG to PNG, EXIF data (camera settings, location, timestamps) is typically lost unless specifically extracted and preserved separately. Some conversion tools offer options to preserve metadata, but this is not standard behavior.
This highlights the importance of understanding format-specific capabilities when planning conversions. EXIF data contains valuable information about image capture conditions, but different formats have different metadata support. This knowledge is crucial for photographers and professionals who rely on embedded image information.
EXIF: Exchangeable image file format containing camera metadata
Metadata: Data about data, including capture information
Format Compatibility: Ability of formats to support specific features
• JPG supports EXIF metadata
• PNG does not support EXIF natively
• Metadata may be lost during conversion
• Extract EXIF before conversion if needed
• Use tools that preserve metadata when possible
• Keep original files with important metadata
• Assuming metadata is preserved in all conversions
• Not backing up EXIF data before conversion
• Losing important capture information
FAQ
Q: What's the difference between lossy and lossless compression, and how does it affect image quality?
A: The key differences are:
- Lossy Compression: Permanently removes some image data to achieve smaller file sizes (JPG)
- Lossless Compression: Preserves all image data, resulting in larger files (PNG)
Mathematically, compression ratio is defined as:
\( CR = \frac{\text{Original Size}}{\text{Compressed Size}} \)
For JPG: typical CR = 10:1 to 20:1, with quality loss. For PNG: CR = 1:1 to 3:1, with no quality loss.
Lossy compression algorithms use techniques like discrete cosine transform (DCT) and quantization to remove information deemed less perceptible to human vision, while lossless algorithms use prediction and entropy coding to compress without data loss.
Q: Should I convert my RAW files to JPG or PNG for editing and archiving?
A: For professional workflow:
- Keep RAW originals: For maximum editing flexibility
- Use TIFF for editing: Lossless compression with layers support
- Use JPG for sharing: Smaller files for clients and web
- Use PNG for graphics: When transparency is needed
Converting RAW to JPG results in irreversible quality loss. RAW files contain 12-14 bits per channel versus JPG's 8 bits, providing much more data for post-processing. For archiving, uncompressed TIFF or high-quality JPG from processed RAW files are recommended depending on storage constraints.
The information retention can be quantified as:
\( \text{Information Loss} = \frac{\text{RAW Bits} - \text{Output Bits}}{\text{RAW Bits}} \times 100\% \)