Speaker Placement Calculator
Optimal speaker positioning for audio production • Studio design tool
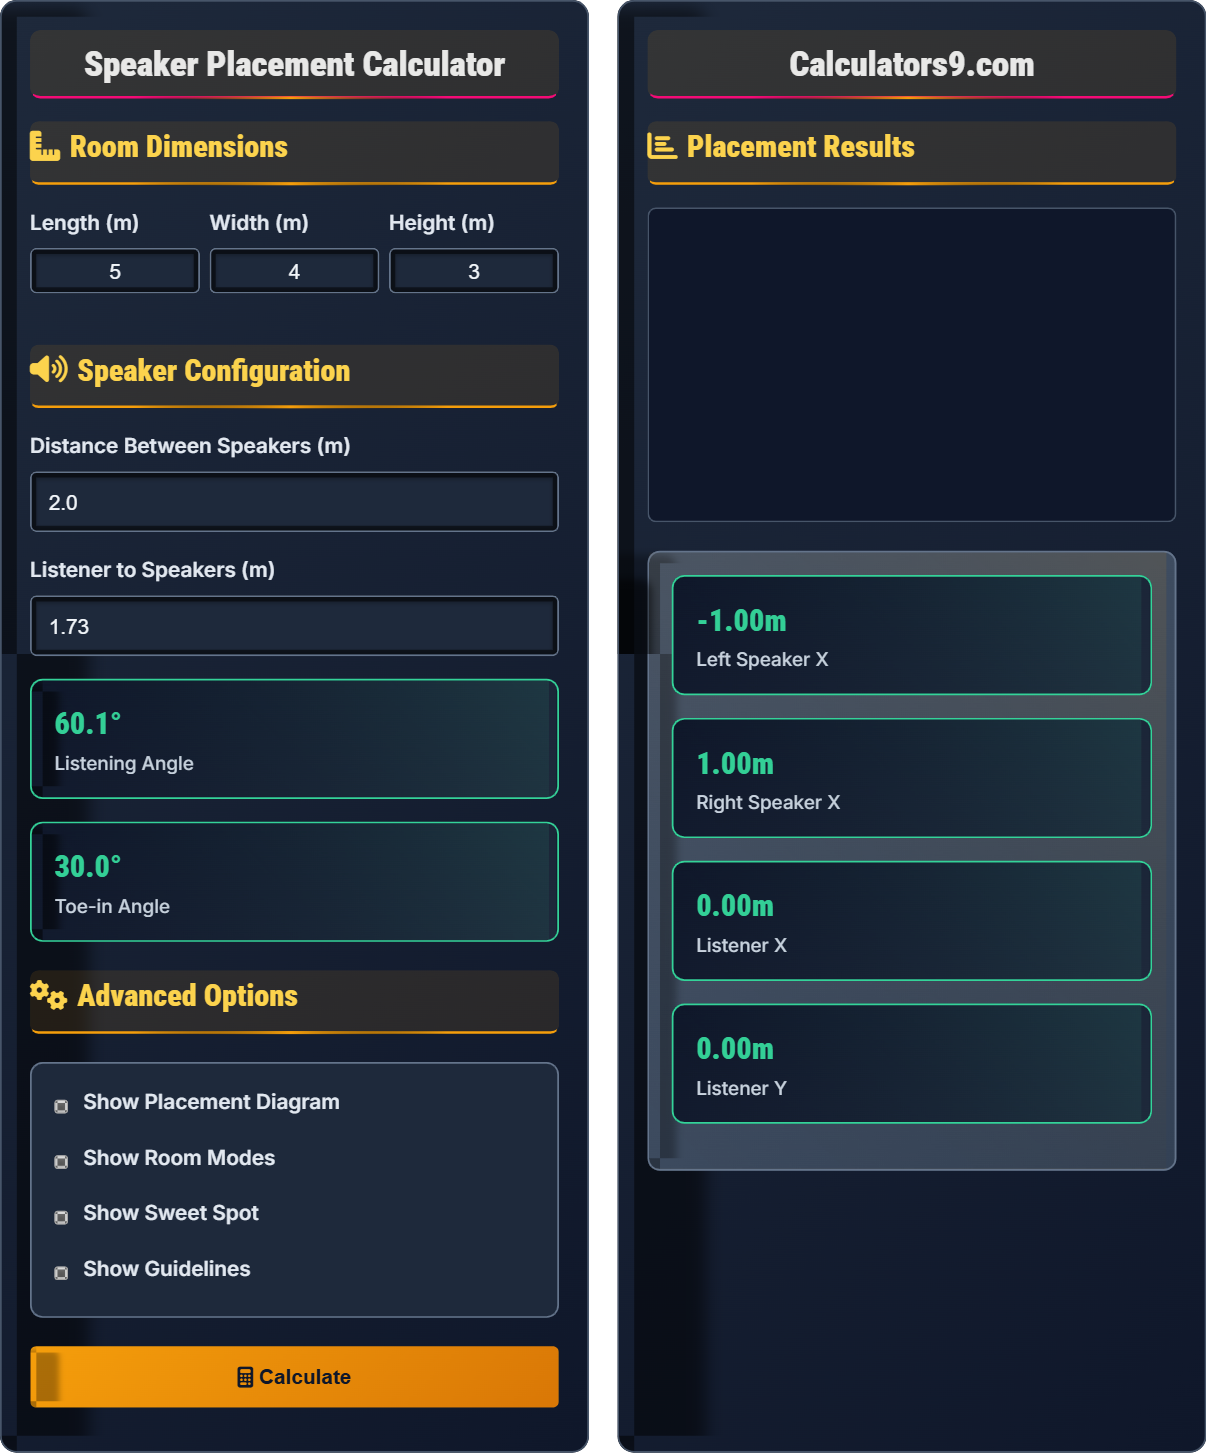
Optimal Speaker Placement:
Show Calculator\( \text{Listening Angle} = 2 \times \arctan(\frac{d}{2 \times L}) \)
Where:
- \( d \) = Distance between speakers
- \( L \) = Distance from listener to speakers
For optimal stereo imaging: Listening angle should be 60° (equilateral triangle setup).
Room mode frequencies: \( f_n = \frac{n \times c}{2 \times L} \)
Where c is speed of sound (343 m/s) and L is room dimension.
These formulas ensure proper stereo imaging, minimize boundary interference, and optimize the acoustic environment for critical listening.
Room Dimensions
Speaker Configuration
Advanced Options
Placement Results
Speaker Placement Fundamentals
Optimal speaker placement is the strategic positioning of speakers to achieve the best stereo imaging, frequency response, and acoustic environment for critical listening. Proper placement minimizes room interactions that can color the sound.
The ideal setup forms an equilateral triangle between left speaker, right speaker, and listener. This creates a 60° listening angle which provides optimal stereo separation and imaging.
Formula: \( \text{Listening Angle} = 2 \times \arctan(\frac{d}{2 \times L}) \)
Where d is speaker distance and L is listener distance.
- Listening angle: 60° for nearfield monitoring
- Keep speakers away from walls (20-50cm)
- Tweeters at ear level
- Symmetrical room placement
- Minimize first reflections
Applications in Audio Production
Proper speaker placement is critical for accurate monitoring in mixing, mastering, and critical listening environments. It ensures that engineers hear the true sound of their mixes.
- Control room setup
- Home studio design
- Multi-channel systems
- Reference monitoring
- Acoustic treatment planning
- Room modes affect low-frequency response
- Boundary interactions cause comb filtering
- Speaker baffle step affects response
- Early reflections impact stereo image
Speaker Placement Learning Quiz
What is the recommended listening angle for nearfield monitoring in a control room?
The answer is B) 60°. The optimal listening angle for nearfield monitoring is 60°, which corresponds to an equilateral triangle setup between the left speaker, right speaker, and listener. This angle provides the best balance of stereo separation and coherence, allowing for accurate spatial imaging during mixing.
The 60° angle is based on psychoacoustic research showing that this angle optimizes the brain's ability to process stereo information. At smaller angles, stereo separation suffers; at larger angles, the soundstage becomes too wide and loses focus. The equilateral triangle ensures equal distances between all three points.
Nearfield Monitoring: Close-proximity speaker setup for critical listening
Listening Angle: The angle formed between speakers and listener
Stereo Imaging: The perception of spatial location of sounds
• 60° angle = equilateral triangle setup
• Equal distances from listener to each speaker
• Optimal for nearfield monitoring applications
• Measure the angle with a protractor for precision
• Use the 3:2:1 rule (distance to speakers, speaker spacing, height)
• Verify equal distances with a measuring tape
• Placing speakers too close together (reduces stereo width)
• Creating an isosceles instead of equilateral triangle
• Ignoring the importance of equal distance to speakers
If your speakers are 1.8m apart, how far should the listening position be from the speakers to achieve a 60° listening angle? Show your work.
Using the formula: \( \text{Listening Angle} = 2 \times \arctan(\frac{d}{2 \times L}) \)
We want the listening angle to be 60°, so: \( 60° = 2 \times \arctan(\frac{1.8}{2 \times L}) \)
Step 1: Divide both sides by 2: \( 30° = \arctan(\frac{1.8}{2 \times L}) \)
Step 2: Take tangent of both sides: \( \tan(30°) = \frac{1.8}{2 \times L} \)
Step 3: Calculate tan(30°): \( \tan(30°) = 0.577 \)
Step 4: Solve for L: \( 0.577 = \frac{1.8}{2 \times L} \)
Step 5: Rearrange: \( 2 \times L = \frac{1.8}{0.577} = 3.12 \)
Step 6: Therefore: \( L = \frac{3.12}{2} = 1.56 \) meters
The listening position should be 1.56m from the speakers.
This calculation demonstrates the trigonometric relationship in speaker placement. The 60° angle is maintained by balancing speaker spacing with listening distance. As speakers get farther apart, the listening position moves back proportionally to maintain the optimal angle.
Trigonometry: Branch of mathematics dealing with triangles
Arctangent: Inverse of tangent function
Equilateral Triangle: Triangle with all sides equal
• Maintain 60° angle for optimal stereo imaging
• Speaker spacing and listening distance are proportional
• Equal distances ensure phase coherence
• For 1.8m speaker spacing, aim for ~1.56m listening distance
• Double the distance if doubling speaker spacing
• Use the 3:2:1 rule as a starting point
• Forgetting to convert degrees to radians if needed
• Misapplying the arctangent formula
• Not maintaining equal distances to both speakers
You're setting up monitors in a room that is 4.5m long. Calculate the first axial room mode for the length dimension. How might this affect your speaker placement?
Room mode formula: \( f_n = \frac{n \times c}{2 \times L} \)
Where: n = mode number (1 for first mode), c = speed of sound (343 m/s), L = room dimension (4.5m)
Step 1: First axial mode (n=1): \( f_1 = \frac{1 \times 343}{2 \times 4.5} = \frac{343}{9} \approx 38.1 \) Hz
This first axial mode at 38.1 Hz will cause standing waves along the length of the room. To minimize its effect, place speakers and listening position away from the modal nodes (nulls) and antinodes (peaks). Ideally, position the listening area at 38% of the room length from the front wall (4.5m × 0.38 ≈ 1.7m).
Room modes are resonances that occur at specific frequencies based on room dimensions. They cause uneven frequency response with peaks and nulls. Understanding these modes helps in optimizing speaker and listener placement to avoid problematic positions where modes cause cancellation or reinforcement.
Room Mode: Resonance frequency determined by room dimensions
Axial Mode: Mode between parallel surfaces (floor-ceiling, wall-wall)
Standing Wave: Wave pattern that appears stationary
• Room modes = (n × speed of sound) / (2 × dimension)
• Avoid placing speakers at modal extremes
• First mode occurs at lowest frequency for each dimension
• Place listener at 38% or 62% of room dimension from walls
• Use multiple measurements at different positions
• Consider room treatment for low-end management
• Placing speakers against walls without considering modes
• Ignoring the impact of room dimensions on low frequencies
• Not accounting for multiple room modes simultaneously
A producer places nearfield monitors 30cm from the front wall. Calculate the first reflection frequency from this boundary. What acoustic phenomenon occurs and how does it affect the frequency response?
The first reflection from the boundary creates a comb filter effect. The delay time for the reflection is: \( t = \frac{2 \times d}{c} = \frac{2 \times 0.3}{343} = 0.00175 \) seconds
The fundamental cancellation frequency is: \( f = \frac{1}{t} = \frac{1}{0.00175} \approx 571 \) Hz
Additional cancellations occur at odd multiples (571, 1713, 2855 Hz), and reinforcements at even multiples. This comb filtering causes periodic dips and peaks in the frequency response, making instruments sound thin or hollow at the cancellation frequencies.
Boundary effects occur when direct sound combines with reflected sound, creating phase interference. The closer to the boundary, the higher the frequency of the first cancellation. Moving speakers away from boundaries reduces these effects. The comb filtering can mask important musical details and create an inaccurate monitoring environment.
Comb Filtering: Series of peaks and nulls in frequency response
Boundary Effect: Acoustic phenomenon from surface reflections
Phase Interference: Combining of sound waves causing reinforcement/cancellation
• Keep speakers 20-50cm from walls to minimize boundary effects
• Reflection delay = (2 × distance) / speed of sound
• Comb filtering causes periodic frequency response anomalies
• Move speakers away from boundaries to raise cancellation frequency
• Use boundary-layer designs for close-wall placement
• Measure and verify frequency response after placement
• Placing speakers too close to walls without considering reflections
• Not accounting for phase cancellation effects
• Assuming all speaker positions provide flat response
What is the recommended height for speaker placement in a typical control room?
The answer is B) Ear level when seated. Speakers should be positioned so that the tweeters are at ear level when the listener is seated in their normal working position. This ensures that the high frequencies reach the ears directly without being affected by floor or ceiling reflections, and maintains proper time alignment between drivers.
Ear-level placement is crucial because high frequencies are highly directional. If tweeters are above ear level, the listener receives more reflected sound than direct sound, which can cause phase issues and alter the frequency response. Additionally, most speakers are designed to be listened to on-axis, where the response is flattest.
On-Axis: Direct line of sight to speaker tweeter
Off-Axis: Angled away from speaker tweeter
Time Alignment: Drivers arriving simultaneously at listener
• Tweeters should be at ear level when seated
• Maintain symmetrical height for both speakers
• Check time alignment between drivers
• Measure from tweeter to ear level, not cabinet bottom
• Use adjustable stands for precise height adjustment
• Account for chair height when selecting stand height
• Mounting speakers too high or too low
• Not accounting for chair height in measurements
• Assuming all speakers perform equally off-axis
FAQ
Q: What's the difference between nearfield and midfield monitoring, and how does placement differ?
A: Nearfield monitoring (3-8 feet) places speakers close to the listener to minimize room effects and emphasize direct sound. The goal is to hear the speaker's response primarily, with minimal influence from room acoustics.
Midfield monitoring (8-15 feet) balances direct and reflected sound, giving more of the room's character while still maintaining good stereo imaging. Midfield setups often use larger speakers and require more careful attention to room acoustics.
For nearfield: Maintain 60° listening angle and keep speakers 20-50cm from walls. For midfield: Allow more distance from boundaries and consider the room's contribution to the sound more carefully.
Q: How do I know if my speaker placement is correct?
A: Correct speaker placement results in:
- Center fill: Center-panned material remains centered when closing one eye
- Good stereo imaging: Sounds appear to come from specific locations between speakers
- Balanced frequency response: No obvious peaks or dips in the low end
- Accurate imaging: Instruments appear in the correct spatial positions
Test with familiar music that you know well. If vocals seem to disappear or move around, or if the bass seems boomy in some spots and weak in others, adjust your position. Use a measurement microphone to verify flat response if possible.